So you are thinking of starting a YouTube channel uh? More power to you. Or maybe you’ve started one already and are looking to purchase a basic gear set to set you up for success (see what I did there)
You’ve watched all the motivational videos about being a self-starter and growing your influence on YouTube. (I know I did before I started my YouTube channel.) And you figure it’s time to invest in yourself and buy some gear to level up your video production for YouTube.
If that is you, then you’ve landed on the right blog post. I’m going to give you a basic YouTube gear checklist that will get you making the best videos you can as quickly as possible. The thing with YouTube is, you need to upload content as frequently as possible to grow.
No videos, no audience. No audience, no growth.
My name is Dennis Ohuru, a YouTuber with over 4 years of experience creating videos both for my YouTube channel and others (I edit a ton of videos for other YouTubers too, case in point, The Mara Nomads)
That said, here are the 7 basic video equipment for YouTube success that every aspiring or up-and-coming YouTuber needs.
At the end of every tool discussed, I will add a recommendation to help you make a quick choice. I will only recommend tools I own and have used extensively.
A Camera
It’s obvious, isn’t it? You are going to need some sort of Camera to record your videos with before you upload said videos to YouTube.
More importantly, and the reason I have included a camera in this checklist; Is that most people let the lack of a conventional camera deter them from taking that most important step and starting their YouTube channel.
In this day and age, almost everyone has a smartphone camera that can take clear videos, I would bet my next meal that you’ve certainly got that right? Guess what, that smartphone you are holding is good enough to start a YouTube channel.
The key word here is start! And like most things, starting a YouTube channel is the most important step of this whole journey you are about to embark on. Think about it, if you don’t start, you don’t exist, at least to the YouTube audience.
If MKBHD hadn’t started, you wouldn’t know him, right? So start, with your smartphone camera if you must. And trust me, along the way you will most definitely get your hands on a digital camera. Things have a way of working out.
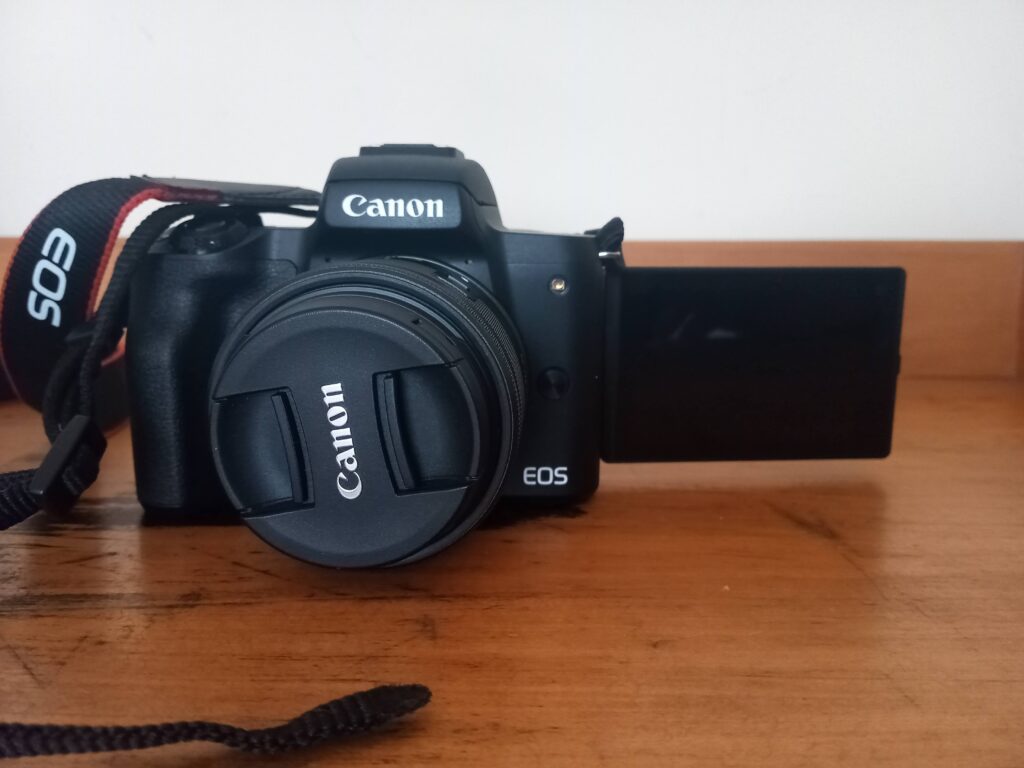
And if you have the budget to buy a camera straight away, don’t concern yourself with getting the “best” camera out there.
In the same way, you wouldn’t buy a Lamborghini as your first car (You’d just end up in an expensive mess of an accident) Instead, buy a camera you can afford and focus on learning it to the max.
Camera Recommendation: The Canon M50
Canon EOS M50 Camera
The Canon EOS M50 is a digital Camera in Canon’s mirrorless lineup.
It has been called in many quarters the best entry-level vlogging camera. This is because of its many compelling features tailored specifically towards content creators.
The Canon M50 comes equipped with many vlog-friendly features including;
- Canon’s excellent Dual Pixel Autofocus which will ensure the subject, you in this instance, is always in focus when shooting vlogs.
- Full HD video up to 60 frames per second.
- An external Microphone port allows you to attach external microphones to the camera and level up your audio
- A vari-angle touch screen, which allows you to see yourself even as you record videos
To find out more about the Canon M50, read my thorough review of it attached below.
Related: Canon M50 Review, From A 3-Year Owner And Youtuber
Related: The Best Beginner And Midrange Cameras Under USD 1000
An External Microphone
Good audio is essential to success on YouTube. It has been revealed that people prefer a bad video, resolution-wise, with good audio to a good video, resolution-wise, with poor audio.
And when I say poor audio I mean;
- Distorted voices
- A lot of background wind (This is a big turn-off)
- Low volume
It is, therefore, of utmost importance to invest in an external microphone, and what that will do is let you record clear audio with minimal or no wind noise. A good budget option for an external microphone is the Boya BY-MM1.

The Boya-BYMM1 works with both a conventional camera are well as a smartphone. Just plug it into the audio jack of your phone and proceed to record your video.
Further to that, if you opt to buy a camera for your YouTube videos, ensure that it has an external microphone input port. This is very important!
Without an external audio port, you cannot attach a third-party microphone to your camera. So pay attention to that.
External microphones give you crisp and clear audio and help you connect with your online audience that much quicker.
External Microphone Recommendation: Boya BY-MM1
Related: My Review Of The Boya BY MM1
A Tripod
When you start to record videos as a solo content creator, you will soon realize how essential a tripod is. You will not always have someone to hold the camera and record you speaking to it.
And that’s when a tripod comes in handy, you can set up your recording device (Smartphone or Digital Camera) on it and record yourself, no problem at all.
In addition, many recording scenarios will need the camera to be placed in a static stable spot.
Examples of recording scenarios that need a tripod include:
- Vlogging (You need a mini tripod for this depending on the camera you are using
- Interviews
- Talking head videos
- Recording time-lapse videos
- Taking pictures of yourself on a timer
And these are just but a few.
If you plan to vlog (Walk around in different places recording videos) then you will need a mini tripod to hold your camera or your smartphone. You can grab a generic mini tripod in any camera shop for about USD 20.

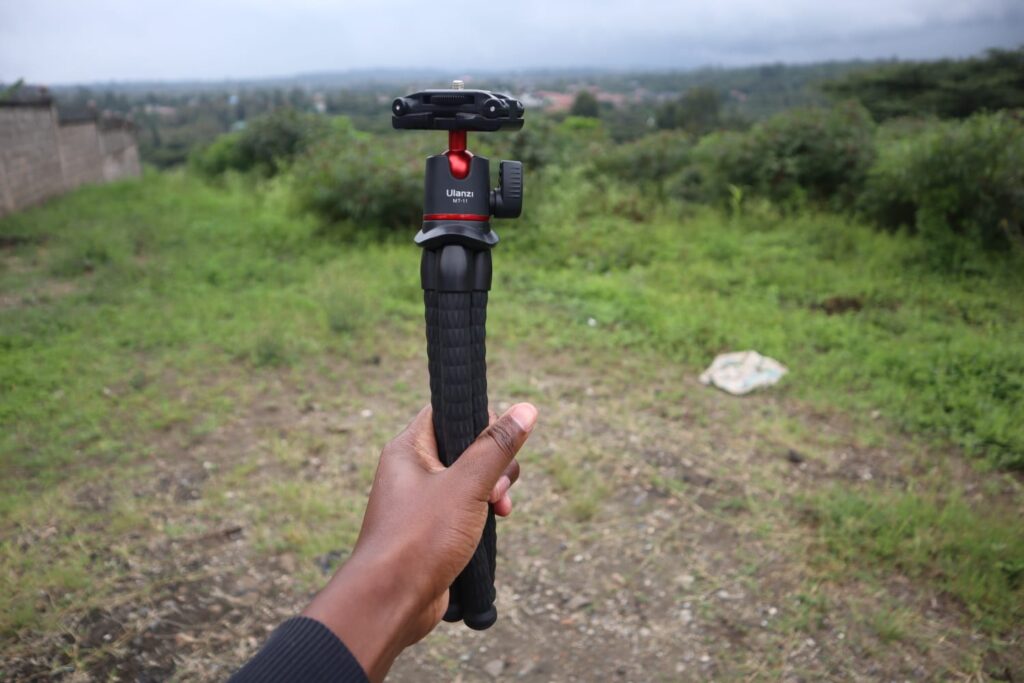
The most important thing to keep in mind is a tripod prevents unnecessary camera movement. Focus on getting a stable and rugged tripod that you can use for many years.
Tripod Recommendation: WT 3520
Mini Tripod Recommendation: Ulanzi MT 11
Related: My Review Of The Weifeng WT 3520
A Personal Computer
You are probably wondering why you need a computer to start a YouTube channel right? But you do. Here’s why.
The best YouTube videos are those that have had some sort of post-processing done on them. And by post-processing, I mean editing. You need to add some polish to your videos before you upload them on YouTube.
Whether this is in the form:
- Taking out awkward pauses or mmhs and uhs
- Cutting out unwanted scenes
- Adding explanations to the videos to make it flow better
- Adding background music
- Adding subtitles
- Adding titles and transitions
You can probably get away with editing your videos on a smartphone for a while, as there are some pretty amazing editing applications for mobile.
But at some point you are going to need to purchase a personal computer to better edit your videos; Phones aren’t designed for video editing and you will have to deal with a lot of heating and lag in your workflow if you plan to edit on your phone.
You can pick a laptop powerful enough for video editing for around USD 500 to USD 1,000. And that’s an investment you will not regret.
4K Video Editing Laptop Checklist
| Dimensions | 15 Inches or more |
| RAM | 16 GB or more |
| Storage | SSD 256 GB or more |
| Dedicated GPU | 4 GB Nvidia Graphics Card or equivalent |
| CPU | iCore 7 or equivalentent |
Examples of budget laptops that meet the specifications outlined above include:
- Lenovo Legion Y530
- HP Omen 15
- Dell G5 15 SE
- Asus TUF Gaming F15
- Acer Predator Helios
I’m also in the market for any of the above laptops, so if you like me. Get in touch here and help me get my hands on one yeah? I currently use an HP Elitebook Folio 1040 G2 and I can hear it groan every time I open it up. Suffice it to say, it wasn’t designed for video editing.
Editing software
Once you get your hands on some form of personal computer, you still need editing software to edit your videos.
Most editing software are offered on a trial basis and one has to upgrade and buy a license before they can use the editing software without restrictions or watermarks on their videos.
However, there is one editing software that is powerful and is used even by Hollywood professionals to edit videos and it is called Davinci Resolve. And Davinci Resolve is absolutely free! Can you imagine!
I don’t use Davinci Resolve only because my laptop is not powerful enough to run it.
I use Filmora to edit my videos, and Fillmora is very capable as well. The only drawback with Filmora is that it is not free.
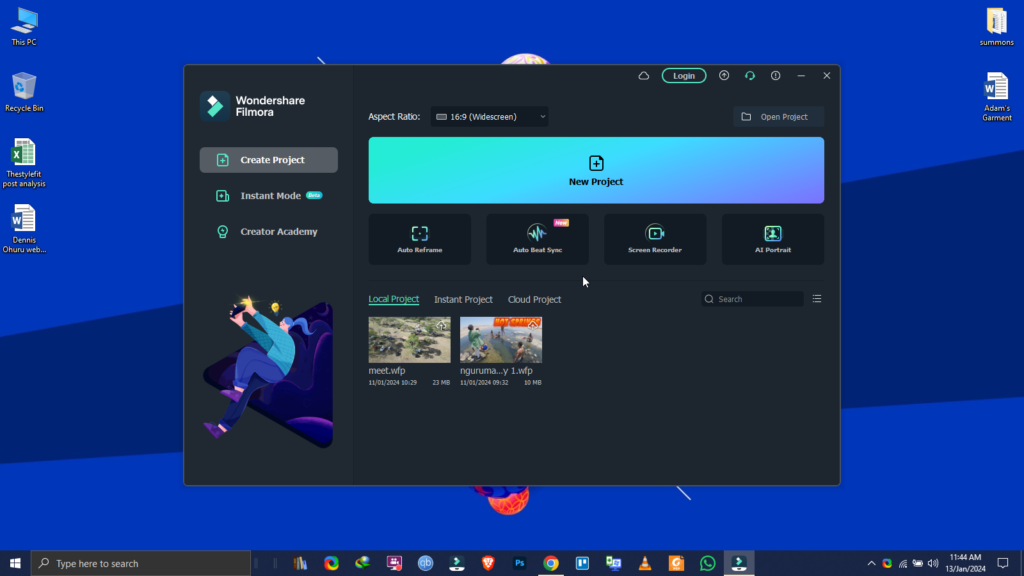
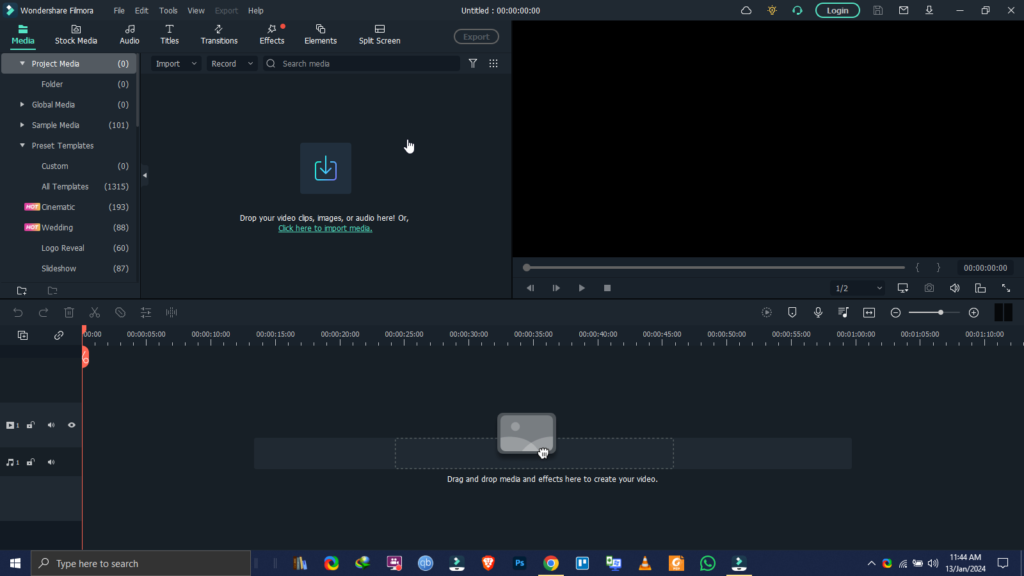
A Filmora annual licence costs $ 49.9 and their perpetual plan costs $79.99. The perpetual plan gives you lifetime access to Filmora 10 as well as everything in the annual plan.
If your laptop is powerful enough to run Davinci Resolve, then go for it. It is much more powerful than Filmora.
That said, as an up-and-coming cinematographer (because that is what you are if you make YouTube videos) you will need to wear many hats. And one of those hats is being a video editor.
To take advantage of any video editing software, you must possess some modicum of video editing skills.
But don’t worry if, at the time of reading this post, you don’t know how to edit videos, (I was like you once) there are plenty of video editing tutorials on YouTube you can learn from. You should be moderately good in about a month.
And you will just continue to get better with time.
Video Editing Software Recommendation: Davinci Resolve
A Memory card
Most cameras can’t shoot video and store it in the device. For that, you need an external memory card. For most people, a 64 GB SD card will be more than enough.
I have a 32 GB SanDisk SD card and I’ve never once filled it in a day of video recording. Multiple days of video recording will fill it up easily but you can always do what I do. At the end of each day, copy all your footage onto your computer and format the SD card in the camera.
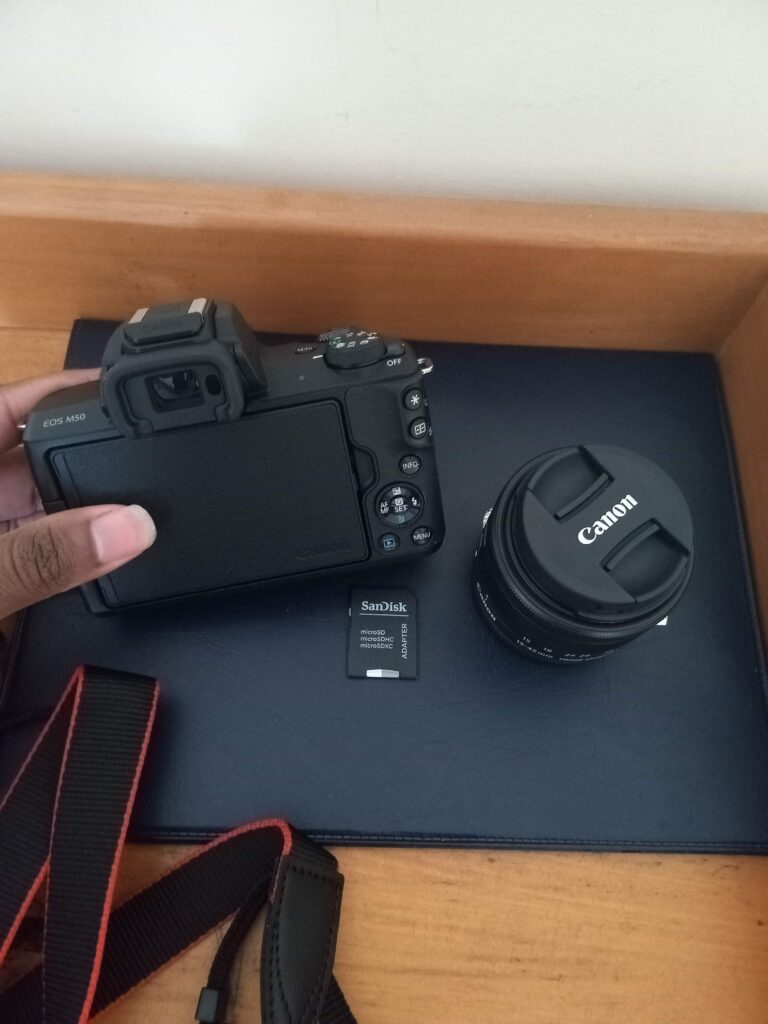
Comparatively, edited files are much smaller compared to the original files straight out of the camera, so don’t worry about that.
External Memory Card Recommendation: 32 GB or 64 GB Sandisk SD Card
One or two lens choices.
In the beginning, having one or two lens choices is not as essential as the first 6 items on this list, provided the camera you purchased came with a kit lens.
The Canon M50 does come with a kit lens straight out of the box.
But as you acquire more video skills, you will need to invest in one or two lenses to get different shots and capture different perspectives. This not only levels up your cinematography skills but also lets you discover different styles of shooting video content as well as your strength and weakness areas;
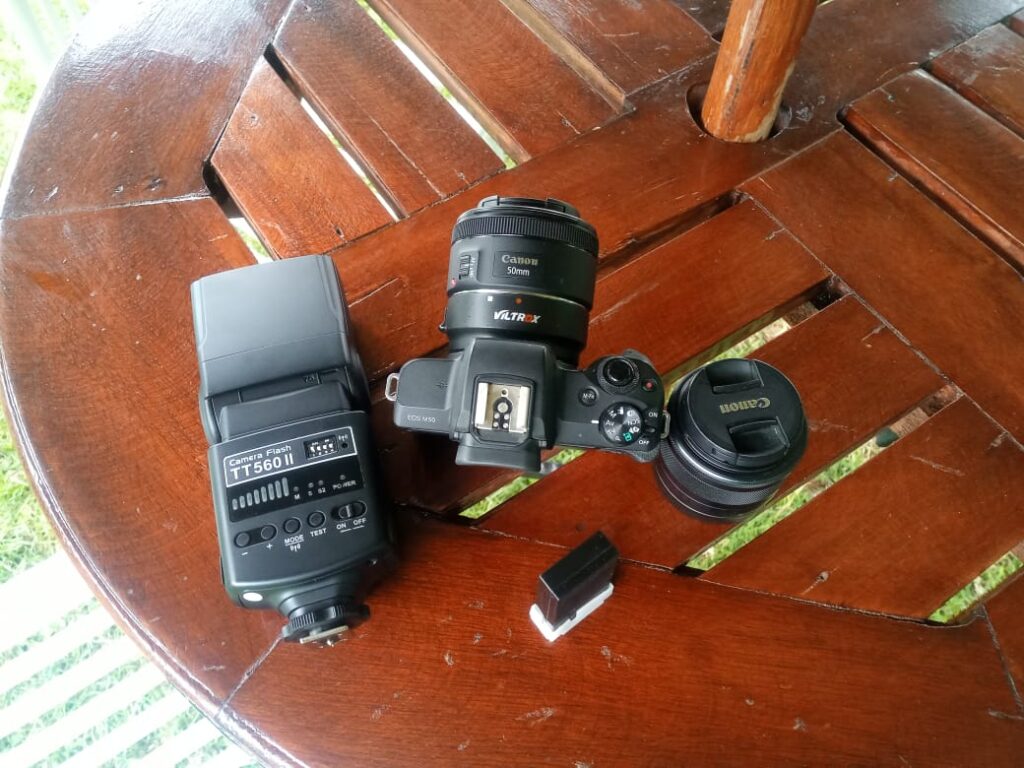
Secondary Lens Recommendation: Canon EF 50mm F/1.8 STM

Summary
That’s it folks; I hope you enjoyed this blog post on the 7 basic video equipment for YouTube success.
I wish you all the best in your content creation journey. And remember, nobody starts perfect. Do not compare your beginning with someone else’s middle. You will suck at first, possibly for many months.
But remember, first comes the fool, then follows the saviour, you have to suck first to be good at anything.
N/B: Most importantly, start with what you have and work your way up

Pingback: The Best Beginner And Midrange Cameras Under USD 1000 – Dennis Ohuru