Since its release in March of 2018, the Canon M50 continues to be one of the most loved content-creation cameras.
You only need to search the Canon M50 on YouTube to realise this.
Its biggest wins are compactness, ease of use, intuitive features aimed at content creation and price.
The Canon M50 was designed for video first, but what if the Canon M50 is your only camera? What if you want to use it for photography and wonder whether it can take good pictures?
Wonder no more, In this article, I’ll delve into the photography nitty-gritties of the Canon M50 to reveal the best tips and techniques on how to get the best pictures out of your Canon M50 camera.
Understanding Your Canon M50
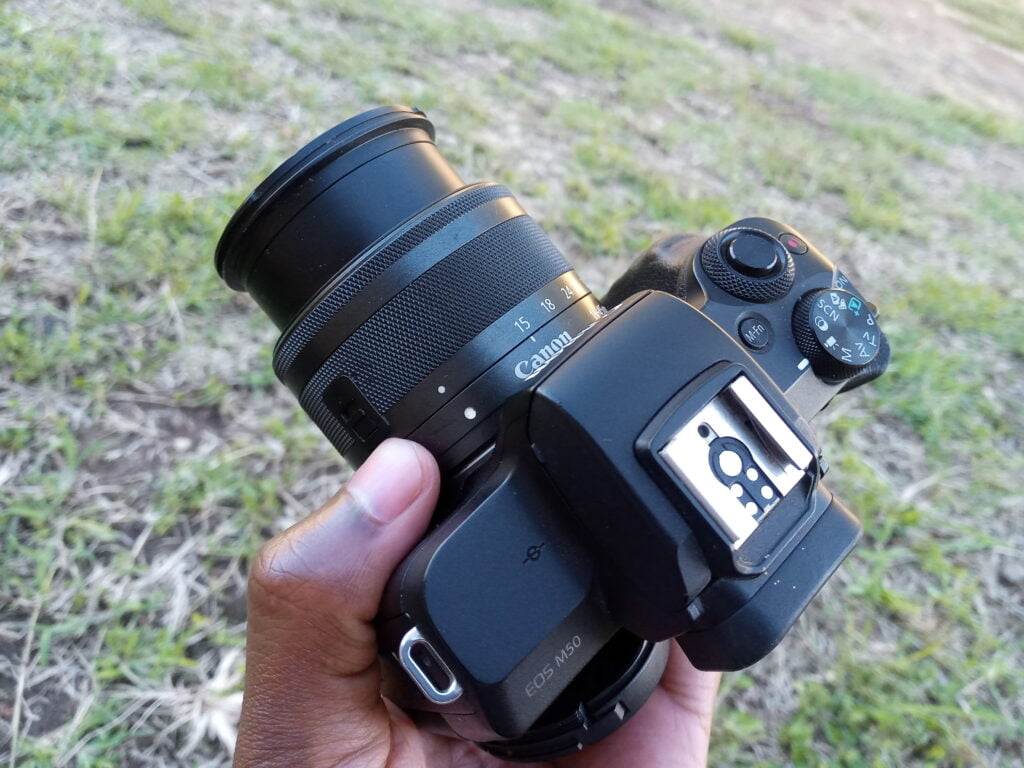
Before I delve into the nuances of capturing stunning images using your Canon M50 camera.
It is important that you first familiarize yourself with the camera.
The main components of the Canon M50 that you need to know well to take advantage of their capabilities are;
1. The Sensor
The Canon M50 is equipped with an APS-C sensor.
An APS-C sensor is smaller than a full-frame sensor but bigger than a micro-third.
The type of sensor on the M50 being what it is, will impact its image quality, especially in low-light environments.
APS-C sensor cameras tend to be more compact than their full-frame counterparts. However, since it is a smaller sensor, the image quality of a full-frame sensor camera will be better than that of the Canon M50.
Something else concerning the Canon M50’s APS-C sensor is that it applies a 1.6x crop factor on images and videos.
This can be a good thing when taking pictures of far-away objects but It can be a bad thing when taking pictures in a cramped space where you need to maximize all available space.
2. Lens Mount
The Canon M50 is an Interchangeable lens camera.
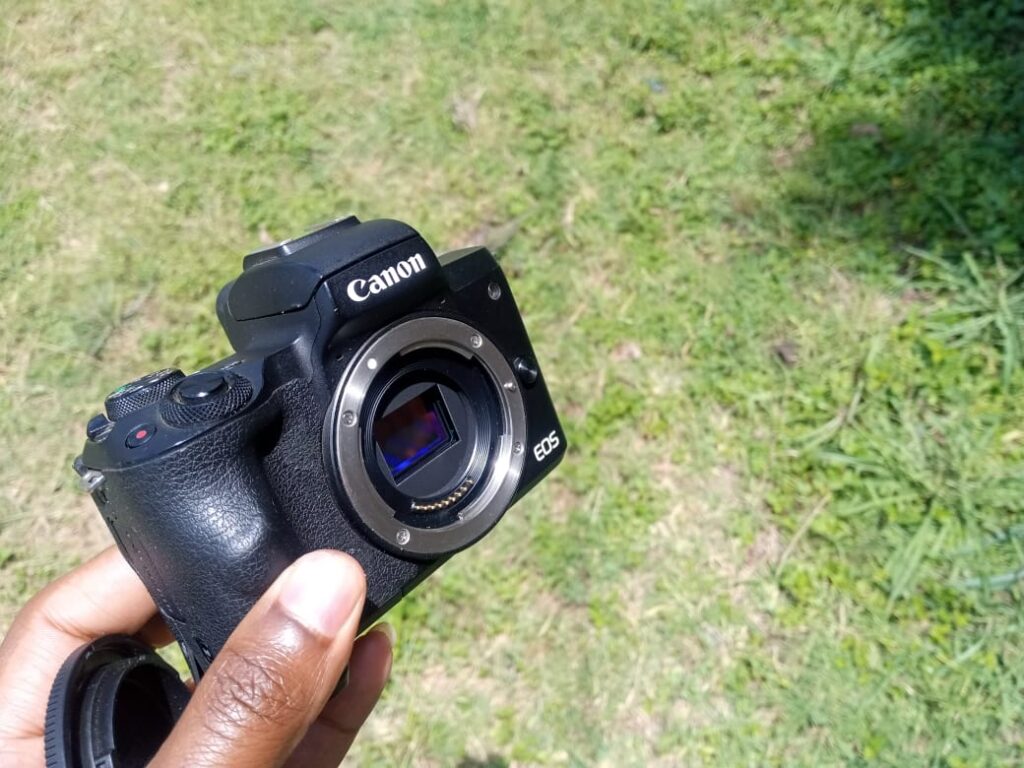
What that means is that you can use the Camera with a wide selection of lenses.
However, you must understand the M50’s lens mount so that you buy the right lenses for its lens mount.
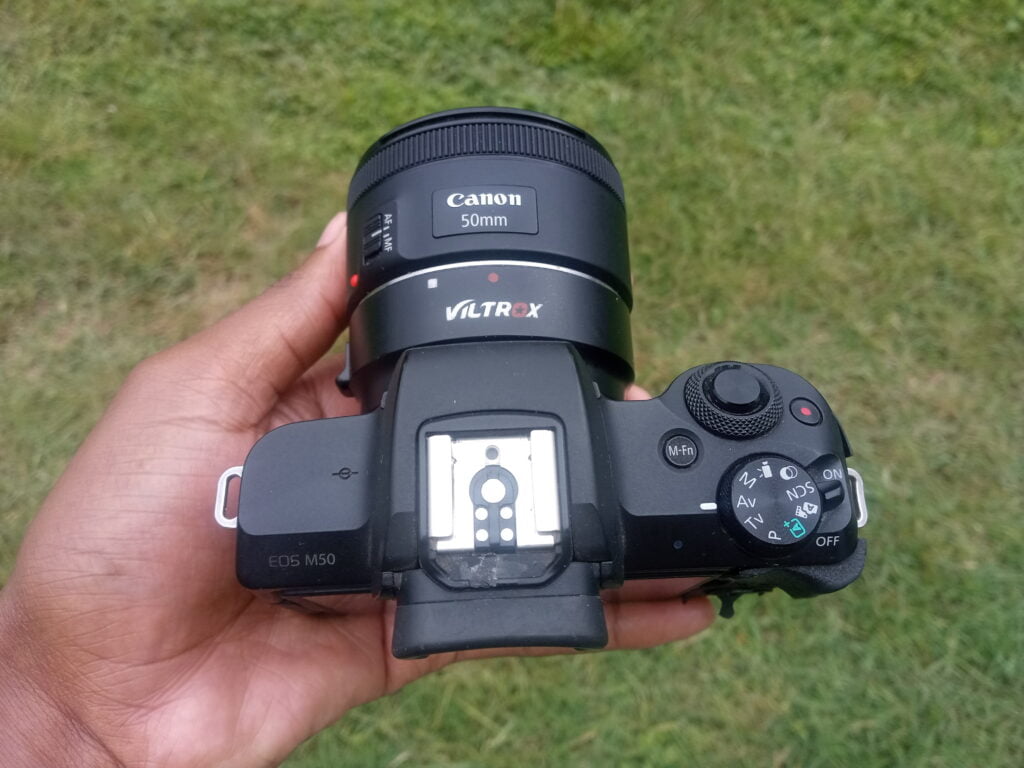
The Canon M50 is equipped with an EF-M lens mount.
As a result, only EF-M lenses will fit natively on the Camera.
To use Canon’s more popular and readily available EF lenses on the Canon M50, you will have to adapt its lens mount using an EF-M to EF mount adapter.
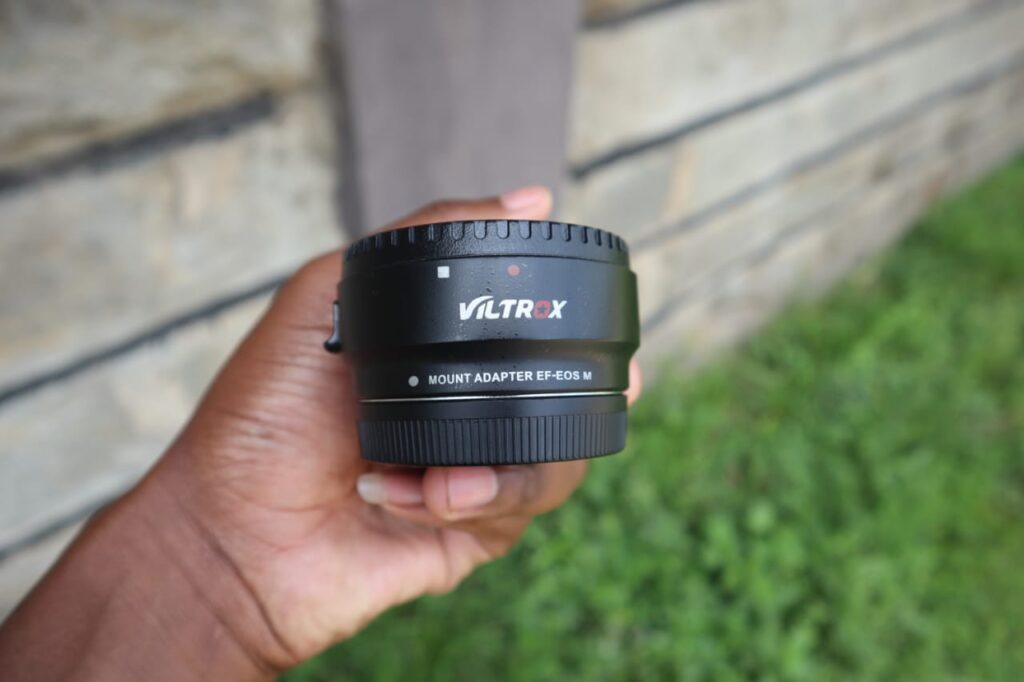
Still, the fact that the Canon M50 is an interchangeable lens camera provides a ton of flexibility.
Different lenses will allow you to experiment with dissimilar shooting styles and discover your favourites.
Read this post I wrote on the best lenses for the Canon M50.
It goes more in-depth on the subject of choosing the right lens for your M50.
3. Autofocus Settings
The Canon M50 comes equipped with Canon’s Dual Pixel CMOS Autofocus.
The Dual Pixel autofocus in the Canon M50 uses Canon’s propriety image focusing technology to always keep objects in focus;
During both video and photography sessions.
The Canon M50 comes with two different autofocus modes.
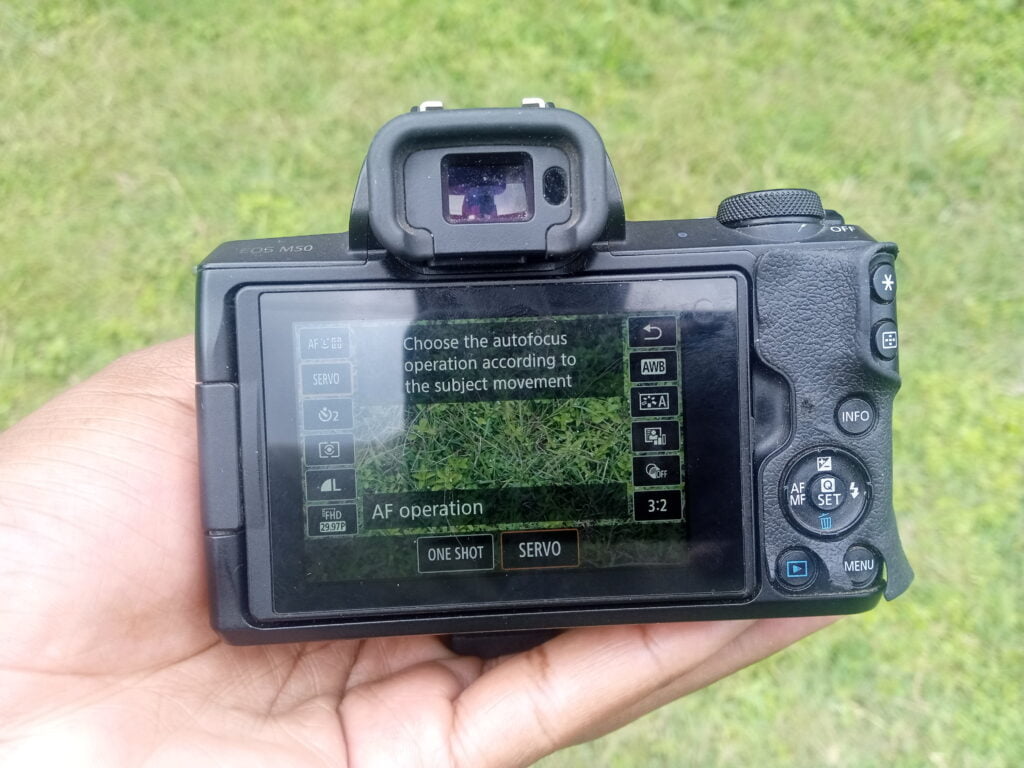
- Servo Autofocus (Servo Autofocus is meant to be used when taking pictures of moving objects, or objects that can move or shake.
Examples include: People and Animals
- One shot Autofocus
One-shot autofocus on the Canon M50 is meant to be used when taking pictures of stationary objects like buildings.
How To Get The Best Pictures Out Of The Canon M50
Now that you have a basic understanding of your Canon EOS M50 mirrorless camera, let’s delve into techniques for capturing the best pictures out of it.
Master Exposure
Exposure, in photography terms, is how bright or dark an image appears to be.
The advantage you have when using the Canon EOS M50 is that it uses an electronic viewfinder as well as a touch-enabled LCD screen at the back.
Letting you see a real-time depiction of the image you are trying to take, as well as how exposed or under-exposed it is.
With the Canon M50’s EVF, what you see is what you get.
It is therefore a simple thing to optimize your exposure by adjusting the relevant settings.
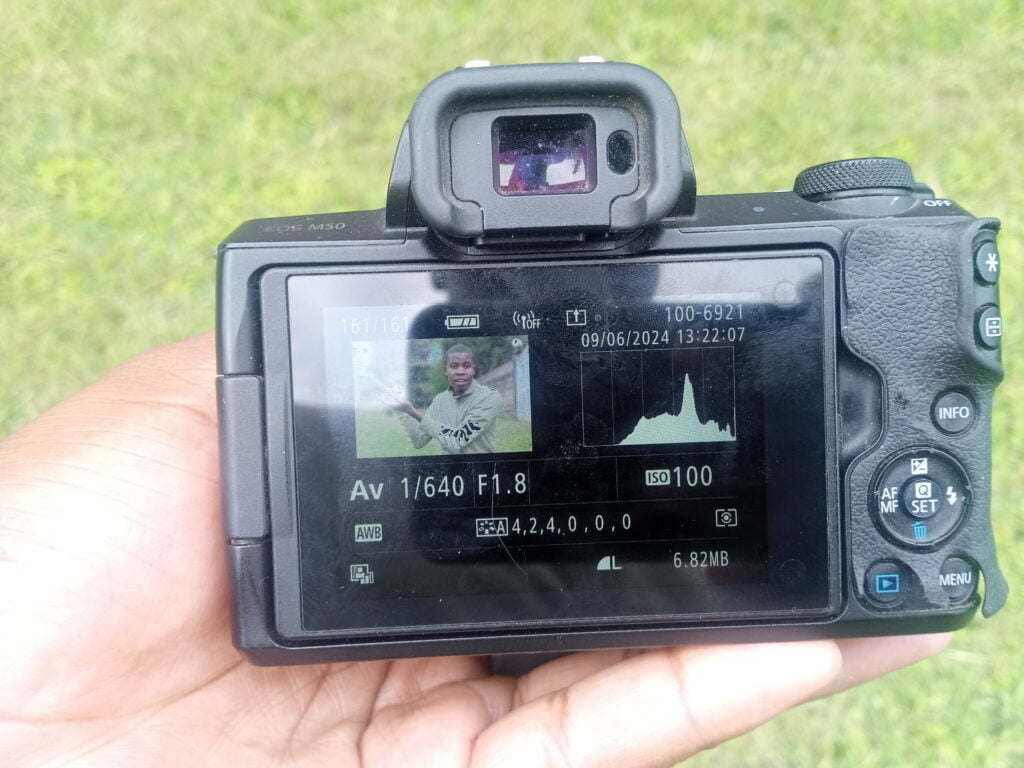
- If an image appears overexposed (Brighter than you need it to be) reduce the ISO, increase the shutter speed or reduce the aperture.
- If an image is underexposed (Darker than you need it to be) increase the iso, reduce the shutter speed or increase the aperture
This is how you manipulate the settings on your Canon EOS M50 to achieve optimum image exposure.
You can also use the histogram on the Camera’s menu to know when the exposure of an image is just right.
Use different depths of field
The Canon M50 is an interchangeable lens camera, which means you can use it with different lenses. And the benefit of having different lenses on a camera is that they unlock different styles of shooting.
To take advantage of the Canon EOS M50’s lens interchangeability, first, you must understand the mount system it uses.
The Canon M50 employs an EF-M Lens mount and will only use Canon’s EF-M line of lenses natively.
All lenses in Canon’s EF-M lineup will fit on the Canon M50 without the need for any third-party adapter but to use Canon’s EF line of lenses, you will need an EF-EF-M lens mount for the Canon M50.
Once you understand the Canon EOS M50’s lens mount, you can then choose the right lenses to pick for different kinds of photography.
Experiment with wide aperture lenses for example those that come with an aperture range between f/1.4 to f/2.8 for shallow depth of field.
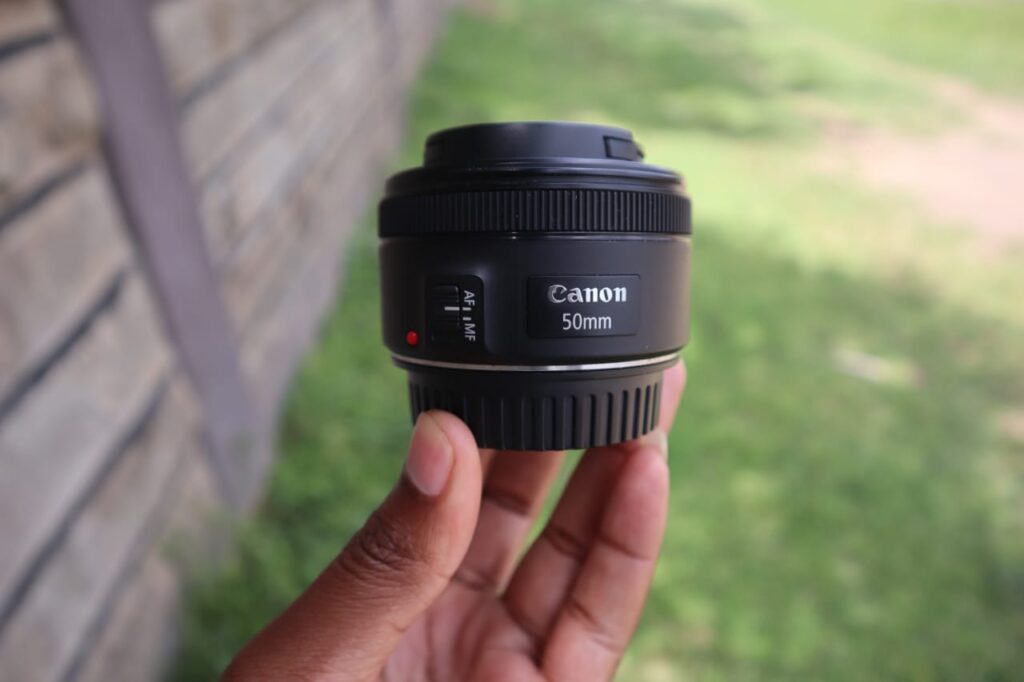
These particular lenses are ideal for portraits and isolating subjects from the background, what is popularly known as bokeh.
On the other hand, narrow aperture lenses, F5 and above are suitable for landscapes and or wide subject photography.
Take Advantage of Raw Files
The Canon M50 can take raw images alongside Jpegs.
Raw images, in essence, allow you to capture more information when taking an image, as opposed to Jpegs which are like fully cooked pictures.
With Raw files, you have to go and edit the final image in post-production yourself.
However, because raw files retain more information, you can recover highlights, or shadows as needed in post-production.
And once you master editing raw files, you will always end up with better images than if you just took Jpegs.
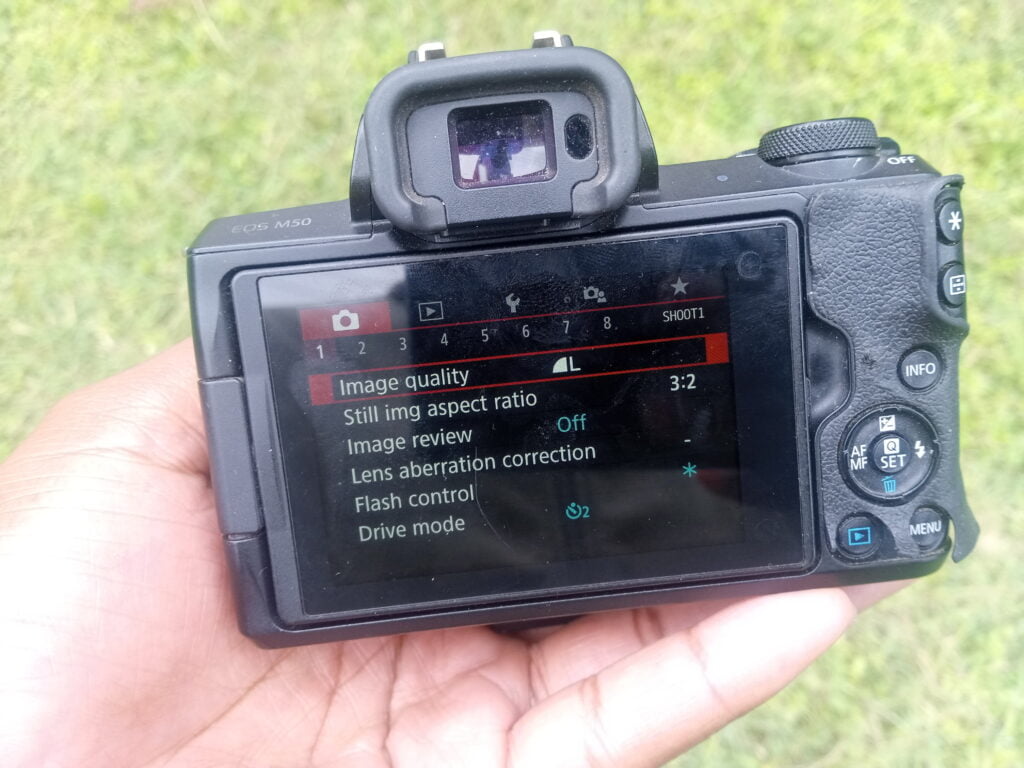
To enable raw images on the Canon M50.
- Make sure the camera is set on one of four photo settings (AV, TV, Manual or P)
- Navigate to Menu
- Select Image quality
- Then with the Jpeg set to the largest file size
- Select either Raw or Craw
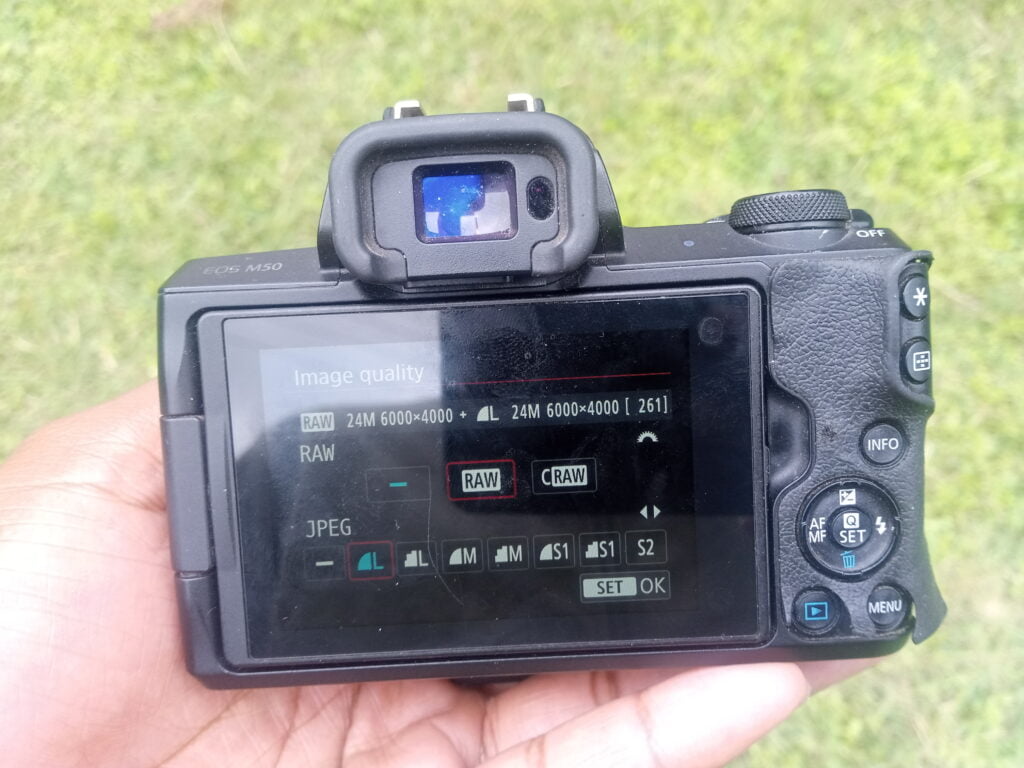
Craw is Canon’s less bulky raw file used when the need to save space on the SD card is great.
Once you select either Craw/Raw together with the largest Jpeg, each time you take a picture, the Canon M50 will capture two files.
1 Jpeg and 1 Raw file. You can use the Jpeg immediately on social media or to share with your friends as needed and the raw file you can edit later.
Image Editing
In as much as taking good pictures straight out of the Camera is important, post-processing can elevate your pictures to new heights.
For that reason, you must learn the basics of image editing to supplement your photography skills.
You will also need to learn how to use industry-standard image editing software like Adobe Lightroom to fine-tune exposure, contrast, saturation, highlights and shadows among other image-relevant settings.
Don’t be afraid to experiment with creative editing techniques to add your personal touch to your images.
Remember, the world of photography isn’t fixed on what is considered good, most often a good photo is judged by how it is received. Not who took it.
Samples of pictures I have taken using the Canon M50
You can see some samples of pictures I have taken using my trusty Canon EOS M50 on my portfolio page.
Summary
Getting the best pictures out of your Canon M50 will need patience, repetitiveness in your practice and a willingness to experiment.
The first step in the direction of taking better pictures with your M50 will call for a better understanding of the M50’s capabilities.
And then implementing the tips outlined in this blog post.
Once you’ve done all that, you’ll be well on your way to capturing breathtaking images that showcase your creativity and vision.
So grab your Canon EOS M50, venture out into the world, and let your imagination run wild. Happy shooting!

Pingback: A Comprehensive Review of the Viltrox EF-EOS M Lens Mount Adapter – Dennis Ohuru